
- Home
- Hot
- Products
- Application
- About Us
- Technical Guide
- News
- Contact Us
 English
Views: 0 Author: Site Editor Publish Time: 2026-10-30 Origin: Site


Dull cutting edges directly cause unacceptable burrs, material deformation, and severe strain on hydraulic systems. When operators ignore the unused edges of reversible blades, fabrication shops face premature tooling replacement and excessive machine downtime. Flipping a reversible blade restores cut quality and extends the lifecycle of your equipment. We will cover how to evaluate blade wear, execute a safe rotation, set the proper gap, and decide whether to perform this maintenance internally or hire specialized technicians. You need practical, field-tested methods to get your shear back online quickly. This guide breaks down the exact steps to handle heavy tooling, clean the blade seats, and shim the gaps for perfect alignment.
Wear Identification: Unacceptable burrs and camber on sheared metal are the primary indicators that a shear blade requires rotation or replacement.
Time Investment: Industry benchmarks estimate approximately 1.25 hours of maintenance time per blade foot under normal working conditions, including removal, cleaning, rotation, and gap setting.
Precision Gapping: Flipping the blade is only half the process; recalibrating the blade gap and shimming are critical to prevent immediate damage to the newly exposed edge.
Resource Allocation: Facilities must weigh the internal labor costs and risks of improper installation against the cost of hiring professional machine service technicians.
Defining acceptable tolerances for sheared edges is the first step in maintenance planning. Metal fabrication requires clean, precise cuts to ensure proper fitment during subsequent welding or assembly processes. When a blade loses its sharp edge, the shearing dynamics change completely. Instead of slicing cleanly through the material, a dull edge forces its way through. This pushing action creates severe edge distortion. You must monitor your cut quality daily to catch these changes early.
Visual and tactile inspections provide immediate feedback on blade condition. Run a gloved hand along the sheared edge of your material. You should feel a relatively smooth transition. If you encounter heavy burrs, rolled edges, or jagged metal, your tooling is failing. Look closely at the sheared offcut. Excessive camber, bowing, or twisting indicates that the blade is dragging rather than cutting. Localized blade chipping often leaves distinct, repeating gouges along the cut line. These physical indicators signal that it is time to inspect your metal shear blades for rotation.
Machine strain metrics offer another reliable diagnostic tool. Dull edges force the machine to work significantly harder. Watch your hydraulic pressure gauges during a cut. If the system requires higher pressure to shear the same gauge of material, the blade is likely dull. Listen to the machine. A sharp blade produces a crisp, consistent snapping sound. A dull blade generates a heavy, laboring thud. Unusual vibrations or shuddering during the cutting stroke also point to severe edge degradation. Ignoring these signs leads to premature wear on hydraulic cylinders and pump components.
Tracking tonnage and cycle counts helps predict wear before cut quality degrades. Log the operational hours and the specific materials processed. Shearing stainless steel degrades an edge much faster than shearing mild steel. Establish a baseline for your specific facility. If you notice cut quality dropping after 10,000 cycles on a specific material, schedule a blade flip at 9,500 cycles. Proactive scheduling prevents unexpected downtime and ruined material.
Wear patterns vary significantly across different equipment types. Standard hydraulic shears typically show the most wear in the center of the blade, where operators perform the majority of small cuts. Rollforming lines often experience localized wear based on the specific profile of the formed metal. Automatic stirrup machines subject their tooling to rapid, high-impact cycles, leading to micro-fractures along the cutting edge. Understanding your machine's specific wear characteristics allows you to optimize your rotation schedule.
Defect Type | Visual/Tactile Indicator | Probable Cause |
|---|---|---|
Heavy Burrs | Sharp, jagged protrusions on the bottom edge of the cut | Dull blade edge or excessive blade gap |
Edge Rollover | Top edge of the material is rounded over before the cut begins | Blade is pushing rather than shearing; extreme dullness |
Camber/Bowing | Offcut piece curves along its length or twists | Uneven blade gap or localized blade wear |
Gouging | Repeating deep scratches or divots along the sheared face | Chipped or fractured cutting edge |
Different metals punish tooling in unique ways. You cannot treat a shear cutting aluminum the same as one processing high-tensile steel. Mild steel provides a predictable, steady wear rate. Operators can usually forecast blade flips accurately based on cycle counts alone.
Stainless steel changes the rules. It work-hardens as the blade bites into it. This requires more tonnage and generates significantly more heat at the cutting edge. Blades processing stainless steel require rotation much more frequently. You will often see micro-chipping on the edge before you see standard dulling.
Aluminum and softer alloys present a different challenge. While they do not dull the blade quickly, they tend to gall. Material transfers from the sheet and sticks to the side of the blade. This buildup alters the blade gap and causes tearing. When inspecting blades used for aluminum, look for this silver buildup. Sometimes the blade is still sharp, but the galling requires you to pull the tooling, clean it, and reset the gap.
High-strength low-alloy (HSLA) steels and AR (abrasive resistant) plates are the most destructive. These materials require specialized high-carbon, high-chrome tooling. Even with the right steel grade, AR plate will round over a cutting edge rapidly. If your shop processes these hard plates, you must inspect the edges daily.
Evaluating the lifecycle of your tooling requires understanding the different blade configurations available. Single-edge blades offer only one usable cutting surface. Once dull, they require immediate replacement or regrinding. Reversible blades dramatically alter this equation. A 2-sided blade provides double the lifespan, while a 4-sided blade offers four distinct cutting edges. Maximizing the use of every available edge controls operational costs effectively.
The economic trade-offs between flipping and replacing are straightforward. Utilizing an unused edge requires only an investment in labor and planned downtime. Purchasing a new shear blade requires a significant capital expenditure, plus the exact same labor and downtime required for installation. Flipping a reversible blade is almost always the most cost-effective choice, provided the tooling remains structurally sound. You must exhaust all available edges before considering a full replacement.
Identifying end-of-life indicators prevents catastrophic machine failure. You cannot flip a blade indefinitely. Once you exhaust all two or four edges, the blade must be removed from service. Inspect the tooling carefully during every rotation. Look for deep structural cracking extending from the bolt holes. Check for excessive bowing along the length of the blade. If the tooling exhibits severe warping that cannot be corrected with standard shimming, it is no longer safe to use. Operating with compromised tooling risks shattering the blade under heavy load.
Regrinding exhausted blades offers an alternative to total replacement, but it comes with limitations. Sending a blade out for regrinding removes material from the overall thickness and height. When you reinstall a reground blade, you must use extensive shimming to restore the proper cutting geometry. Eventually, a blade becomes too thin to shim safely. Evaluate the cost of professional regrinding and the added complexity of shimming against the price of a brand-new set of tooling.
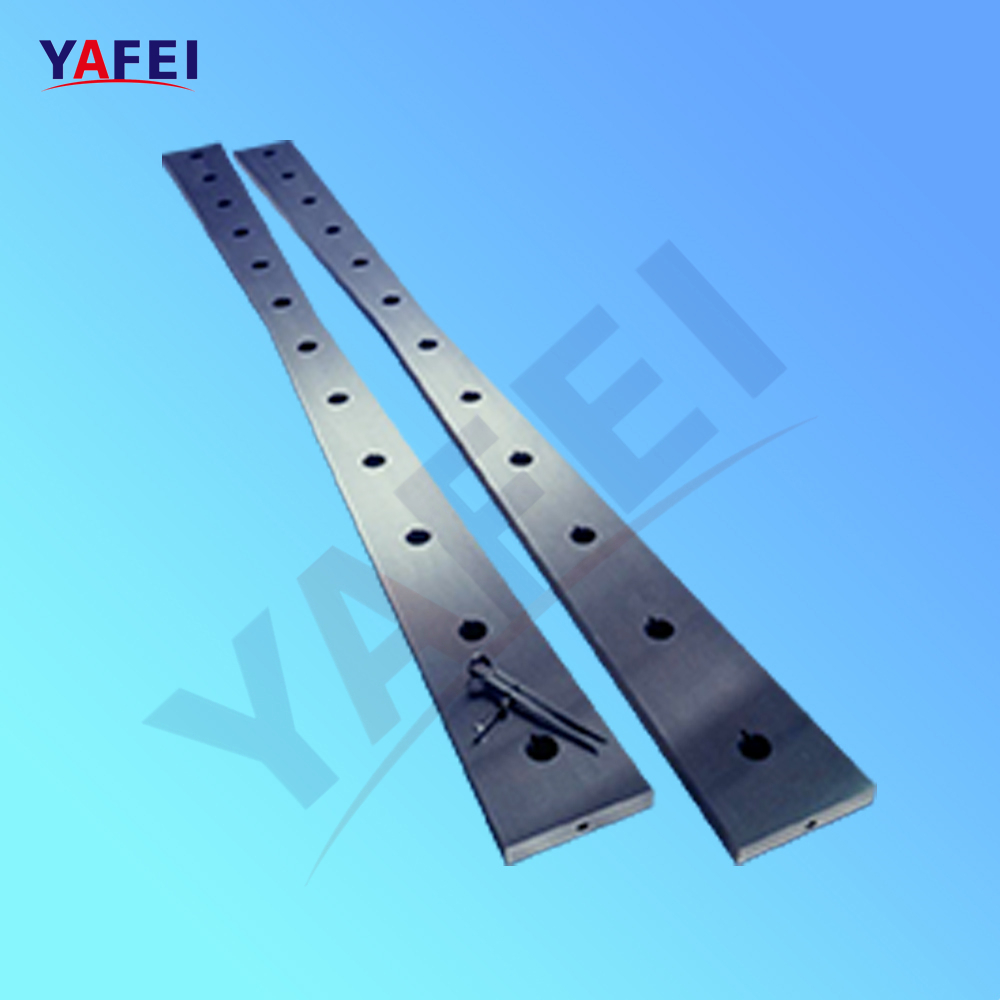
Handling heavy, sharp tooling inside a hydraulic press presents severe safety hazards. A single section of tooling can weigh hundreds of pounds. Dropping a blade causes devastating crush injuries and ruins the precision ground edges. Working inside the machine bed exposes operators to pinch points and crushing risks from the upper ram. Strict adherence to safety protocols is non-negotiable.
Lockout/Tagout (LOTO) procedures must be executed flawlessly before any work begins. Isolate all electrical power at the main breaker and apply a physical padlock. Relieve all hydraulic pressure from the system according to the manufacturer's specific instructions. Verify that the machine is completely dead by attempting to cycle the controls. Never rely on emergency stop buttons or safety light curtains during a hydraulic shear blade rotation.
Mechanical ram blocking secures the upper jaw from drifting downward. Hydraulic systems can slowly lose pressure over time, causing the heavy upper ram to creep down while technicians are working underneath.
Follow this strict blocking sequence:
Raise the upper ram to its maximum open position.
Insert heavy-duty steel blocking blocks or specialized safety pins between the upper ram and the lower machine bed.
Ensure these blocks are rated to support the full static weight of the ram assembly.
Slowly bleed the hydraulic pressure until the ram rests its weight entirely on the safety blocks.
Never place your hands between the upper and lower jaws without physical blocking bearing the load.
Gathering the correct tooling and equipment beforehand minimizes downtime. You cannot perform this maintenance with standard hand tools. Ensure you have the following equipment staged at the machine:
Heavy-duty nylon lifting straps and a rated overhead crane or forklift.
Calibrated torque wrenches capable of reaching the manufacturer's specifications.
Brass scrapers and industrial solvents for cleaning the blade seats.
A comprehensive set of precision feeler gauges for setting the blade gap.
Heavy-duty impact sockets and wrenches sized for your specific hardware, often including 3/4" bolts and large jam nuts.
Pry bars and dead-blow hammers for maneuvering heavy sections into place.
Managing multi-piece blade setups requires careful coordination. Most large shears do not use a single, continuous piece of steel. An 8-foot or 12-foot machine typically utilizes 2-foot or 4-foot sections on both the upper and lower jaws. Keep these sections organized. When removing the sections, mark their original positions and orientations. This prevents confusion when reinstalling the pieces and ensures consistent wear patterns across the length of the machine.
The removal sequence dictates how easily the hardware releases. Start by loosening the jam nuts on the blade support bolts. Work from the outer ends of the blade toward the center. This prevents the tooling from binding or springing outward under tension. Once the support bolts are backed off, carefully remove the primary retaining bolts. Support the weight of the tooling with lifting straps before removing the final bolts to prevent it from falling onto the machine bed.
Surface preparation dictates the success of the entire process. The machined seat where the blade rests must be immaculately clean. Use a brass scraper to remove hardened grease, metal shavings, and mill scale. Wipe the entire surface down with solvent. Run a bare hand over the seat to feel for microscopic burrs. Even a tiny piece of debris trapped behind the blade will cause misalignment. This misalignment leads to uneven cutting gaps, localized blade damage, and potential catastrophic failure during operation.
The physical rotation process exposes the fresh cutting edge. For a 2-sided blade, you simply flip it end-over-end to expose the opposite edge. For a 4-sided blade, you must rotate it to the next sequential edge, ensuring you track which edges have already been used. Inspect the newly exposed edge carefully before installation to confirm it is free of chips or handling damage.
Securing the lower blade first establishes your baseline. The lower tooling must be completely flush with the machine table. Lift the lower sections into place and insert the retaining bolts. Finger-tighten the bolts to hold the sections securely while still allowing for minor adjustments. Use a straightedge to confirm the sections align perfectly flush with the feeding table. Any protrusion above the table will catch incoming material and ruin the cut geometry.
Fastening and torquing require a specific sequence to prevent warping. Once the lower blade is flush, tighten the blade support bolts until they make firm contact. Confirm the flush seating again. Tighten the jam nuts to lock the support bolts in place. Finally, apply the final torque specifications to the retaining bolts using a calibrated torque wrench. Work from the center of the blade outward to the ends. This pushes any slight bowing outward and ensures the blade seats perfectly flat against the machine base. Repeat this entire process for the upper blade sections.
Many maintenance teams rush the flipping process to get the machine back into production. This haste leads to errors that destroy the new edges on the very first cut.
Failing to back off the blade gap before cycling the machine is the most destructive mistake. When you install a fresh edge, it sits further out than the worn edge you just removed. If you leave the gap settings where they were, the upper and lower blades will likely collide. Always open the gap to its maximum setting before cycling the ram for the first time.
Over-torquing the retaining bolts causes the blade to warp. Mechanics often use heavy pneumatic impact wrenches to drive the bolts home. This applies uneven pressure across the blade section. The steel will bow between the bolt holes. Always use a calibrated manual torque wrench for the final tightening sequence.
Ignoring the condition of the hardware leads to loose blades during operation. Retaining bolts stretch over time under the immense pressure of shearing. Threads become deformed. If a bolt looks stretched or the threads are galled, throw it away. Reusing compromised hardware guarantees the blade will shift out of alignment after a few hundred cuts.
Resetting the blade gap is mandatory after every rotation. You cannot assume the new edge will sit exactly where the old edge did. Manufacturing tolerances, microscopic wear on the blade seat, and the removal of debris all change the final resting position of the tooling. Failing to reset the gap often results in the upper and lower blades colliding during the first cycle, instantly destroying the newly exposed edges.
Clearance adjustment begins by moving the top blade back to a safe distance. Loosen the primary adjustment bolts and pull the upper ram back. On specialized rollforming equipment, this often means moving the top blade back toward the infeed rollers. Ensure there is visible, obvious clearance between the top and bottom blades. Cycle the machine slowly under manual control to confirm the blades pass each other without making contact.
Feeler gauge calibration ensures the gap meets the required specifications for your material thickness. The optimal gap is typically a percentage of the material thickness being sheared.
Material Thickness | Recommended Blade Gap (Percentage of Thickness) | Typical Gap Measurement (Inches) |
|---|---|---|
20 Gauge to 16 Gauge | 5% to 7% | 0.002" - 0.004" |
14 Gauge to 10 Gauge | 7% to 9% | 0.005" - 0.012" |
3/16" to 1/4" Plate | 9% to 11% | 0.017" - 0.028" |
3/8" to 1/2" Plate | 10% to 12% | 0.038" - 0.060" |
Measure the gap at multiple points along the entire length of the shear. Insert the correct feeler gauge between the blades at the far left edge. Adjust the clearance mechanisms until you feel a slight, consistent drag on the gauge. Move twelve inches to the right and repeat the process. Continue this measurement across the entire bed. The gap must remain consistent from end to end to prevent material twisting or uneven burr formation.
Shimming corrects localized bowing or uneven wear in the machine bed. If you find tight or loose spots that cannot be corrected with the primary clearance adjustments, you must use brass or steel shims. Place thin shims behind the blade at the specific points where the gap is too wide. This pushes the blade forward to close the gap. Shimming requires patience and repeated measurement. Add or remove shims in tiny increments until the feeler gauge reads a consistent drag across the entire length of the machine.
Deciding who performs the rotation impacts your budget and your production schedule. Self-performed maintenance utilizes existing staff and avoids outside contractor fees. Hiring specialized machine service contractors guarantees expert alignment and transfers the risk of failure away from your internal team. You must evaluate your specific operational realities to make the right choice.
Assess your internal capacity honestly. Does your maintenance team possess deep experience with heavy machinery alignment? Do they understand the strict requirements of torque specifications and feeler gauge calibration? Flipping a shear requires more precision than basic mechanical repairs. If your team lacks experience with tight-tolerance machine tooling, the risk of a botched installation increases significantly.
Risk mitigation plays a major role in this decision. A botched in-house flip carries severe consequences. If the gap is set incorrectly, the blades will crash, destroying thousands of dollars in tooling instantly. Improper seating leads to ruined material and rejected parts. Professional service technicians carry the experience and the insurance to guarantee their outcomes. Paying for a professional service often costs less than replacing a shattered set of blades.
Calculate your expected downtime accurately. Use the industry standard rule of 1.25 hours per blade foot. An 8-foot shear will require approximately 10 hours of dedicated maintenance time under normal conditions. This baseline assumes the machine is clean and the hardware functions properly. If your machine features heavily rusted bolts, seized jam nuts, or severe grease buildup, this time will double. Determine if your facility can afford to pull maintenance technicians away from other tasks for an entire shift or more.
Audit your current cut quality immediately by inspecting the sheared edges of your most recent production run for burrs or camber.
Review your machine maintenance logs to identify the exact date and cycle count of your last blade rotation.
Locate your equipment manual and document the manufacturer's required torque specifications and recommended gap settings for your specific material thickness.
Schedule a dedicated maintenance window, ensuring you have the necessary lifting equipment, brass scrapers, and calibrated torque wrenches staged at the machine.
A: Industry benchmarks estimate approximately 1.25 hours of maintenance time per blade foot under normal working conditions. An 8-foot shear typically takes about 10 hours. Heavily rusted machines or seized bolts will significantly increase this baseline time.
A: No. Single-edge blades are non-reversible and must be replaced or reground when dull. Reversible blades come in 2-sided and 4-sided configurations, allowing you to rotate them to expose fresh, unused cutting edges multiple times.
A: An incorrect gap causes severe issues. A gap that is too wide causes the material to fold between the blades, creating heavy burrs. A gap that is too tight risks catastrophic blade collision, instantly shattering the newly exposed edges.
A: Inspect the tooling for remaining sharp edges. If you have unused edges available on a reversible blade, it should be flipped. If all edges are exhausted, heavily chipped, or show deep structural cracking, the blade must be replaced.
A: Yes. Failing to clean the seat is a critical error. Even microscopic debris or mill scale trapped behind the blade causes severe misalignment. This prevents the blade from seating flat, resulting in uneven cutting gaps and potential tooling failure.
A: It is standard practice to service both the upper and lower blades simultaneously. This ensures a uniform cutting dynamic between two sharp edges. Always start by securing and aligning the bottom blade first to establish a perfectly flush baseline.
A: Yes, minor variations exist. Rollforming shears often require adjusting infeed roller clearances during the gapping process. Automatic stirrup machines frequently use highly specialized, sectioned blade configurations that require specific sequencing for removal and installation.


